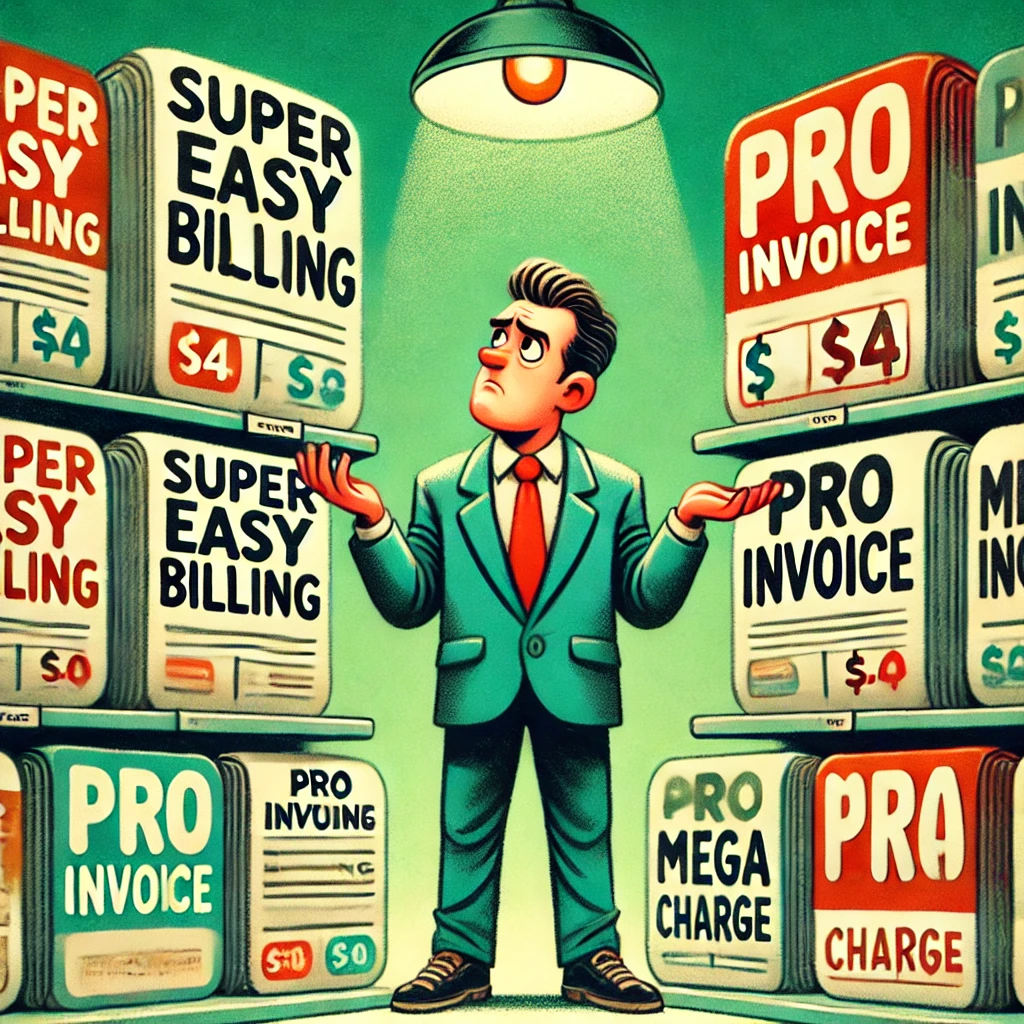

Setting Up Your Paddle Account: The Essential First Steps
Hi, I'm Alex and welcome back to the Boathouse Paddle Series, your go-to resource for everything related to Paddle. Paddle streamlines your software monetization with tools tailored for developers and software companies.
In today's post, we're diving into the three critical steps you need to take after setting up your Paddle account, focusing on preparing for successful checkout implementation. Let's get into it!
Step 1: Configuring the Default Payment Link
Why It's Important
The first thing you need to do is set up a default payment link for your Paddle account. If you skip this step, you'll encounter a vague error message stating "something went wrong" during the checkout process. This issue occurs because Paddle requires a default payment link to redirect users who need to update their payment information or who are being invoiced through the Paddle system.
How to Set It Up
- Login to Your Paddle Account: Start by logging into your Paddle dashboard. Make sure you're in the sandbox environment for testing purposes.
- Navigate to Checkout Settings: Go to the "Checkout" section and then select "Checkout Settings."
- Add the Default Payment Link: Enter a URL that will serve as your default payment link. This URL will have a specific parameter appended by Paddle, which your application can use to display the Paddle UI for payment updates.
Important: Ensure this payment link is accessible in both your sandbox and production environments. Without setting a default payment link, you're likely to encounter error messages during the checkout process, hindering your user's purchasing experience.
Step 2: Setting the Statement Description
Why It's Crucial
The statement description appears on your customer's credit card statement. Paddle automatically displays "paddle.net," but you can add a custom statement description that identifies your product or company, enhancing transparency and trust.
How to Configure It
- Go to Billing Settings: Head over to the "Billing" section in your dashboard.
- Set Your Statement Description: Add a description relevant to your product or service. If you applied with a company name, that will be the default. You can change or shorten it as needed.
Pro Tip: Use a Short Domain Name
If you run multiple products under a single Paddle account, consider purchasing a short domain name that reflects your company. Customers can quickly recognize it and won't dispute charges. For example, if your company is "AwesomeSoftware," you could use "awsmSW.com."
Step 3: Configuring Sales Tax Settings
Why It Matters
Setting up your sales tax correctly ensures compliance with global tax regulations and prevents potential legal issues down the road.
How to Set It Up
- Access Sales Tax Settings: Open the "Sales Tax Settings" in your Paddle dashboard.
- Choose Your Preferences: Select whether to apply sales tax globally or customize it per product.
Default vs. Custom Settings
Setting a global tax configuration simplifies management, but you can override these settings for individual products if necessary.
Step 4: Implementing Paddle.js with Authentication
Why It's Essential
Paddle's JavaScript library (Paddle.js) is integral for integrating Paddle with your site or SaaS application. Proper authentication ensures secure transactions and account integrity.
How to Implement
-
Navigate to Developer Tools: Go to "Developer Tools" -> "Authentication."
-
Understand the Keys:
- API Key: Provides full control over your Paddle account, including managing customers and subscriptions.
- Client-Side Token: Used for authentication in Paddle.js, ensuring that the transactions are valid and secure.
See here for more details on implemementing Paddle JS.
This setup ensures Paddle knows which account it's working with, without exposing sensitive operations like managing subscriptions.
Conclusion
Setting up your Paddle account correctly from the get-go is crucial for smooth operations and a seamless user experience. Remember these steps:
- Configure the Default Payment Link to prevent checkout errors.
- Set a clear Statement Description to avoid disputed charges.
- Adjust Sales Tax Settings for global compliance.
- Implement Paddle.js with the correct authentication details to secure transactions.
By following these steps, you'll pave the way for a successful and user-friendly Paddle integration. Thanks for reading, and see you next time on the Boathouse Paddle Series!